DeepLab-v3 using the Qualcomm Neural Processing SDK for AI on Ubuntu
Procedure for training, converting and running a DeepLab model for image segmentation
Semantic segmentation involves applying a label, such as “tree,” “flower,” “grass” or “house,” to every pixel in an image. It is useful in applications like changing the background of an image. DeepLab-v3 is a model implemented by Google for semantic segmentation that classifies objects in an image, pixel by pixel, and assigns a label to them.
DeepLab-v3 is used in multiple mobile devices for implementing portrait mode in the camera. This article describes how to train a DeepLab-v3 model with the help of Qualcomm® Neural Processing SDK for AI.
(For a comprehensive look at image segmentation and DeepLab-v3, visit Semantic Segmentation: Introduction to the Deep Learning Technique Behind Google Pixel’s Camera.)
Training the model
Collecting and pre-processing data are the most time-consuming tasks in machine learning. To save time, many researchers use pre-processed datasets for object detection, segmentation and captions.
Converting a model into a DLC
To run with the Qualcomm Neural Processing SDK, the pre-trained DeepLab model must be converted to deep learning container (DLC) format using the Qualcomm Neural Processing SDK for AI. To use a custom-trained DeepLab model, follow the instructions provided in the “Training the model” section above.
If the Qualcomm Neural Processing SDK is not yet installed, refer to the instructions on the Getting Started page.
1. Downloading and extracting the model
Execute the following command to download and extract the pre-trained DeepLab model:
$wgethttp://download.tensorflow.org/models/deeplabv3_mnv2_pascal_train_aug_2018_01_29.tar.gz$tar -xzvf deeplabv3_mnv2_pascal_train_aug_2018_01_29.tar.gz2. Converting the model
The model is pre-trained using the TensorFlow framework and exported to a graph file with the .pb extension. The SDK includes an snpe-tensorflow-to-dlc conversion tool. Run it from the directory containing the .pb file. Use the following input arguments suited to DeepLab-v3:
- Input Layer name: sub_7
- Input Shape: 1, 513, 513, 3 (if using the Xception network architecture)
- Output Layer name: ArgMax
That is:
$ snpe-tensorflow-to-dlc –graph deeplabv3_mnv2_pascal_train_aug/frozen_inference_graph.pb -i sub_7 1,513,513,3 --out_node ArgMax --dlc deeplabv3.dlc --allow_unconsumed_nodesThe resulting deeplabv3.dlc file is in the deep learning container format (DLC) required by the SDK.
Running inference on Ubuntu using the SDK
For running inference, the Qualcomm® Neural Processing Engine runtime does not support images as a direct input to the model. To run the application in the SDK, the following operations are necessary for pre-processing the images, as with OpenCV in the example below.
- Resize the image with the shape of 513×513×3.
- Pad the smaller dimensions to the mean value of 128. The padding is used to produce an image of 513×513×3.
- Convert the image to type float32.
- Multiply the image element-wise by 0.00784313771874 and subtract 1.0 respectively. (Note: This step converges the pixel values bound to the range [-1,1]. The subtraction is optional, so not included in the code below.)
- Make a NumPy array of required shape
- Store the resulting pre-processed NumPy array as a raw file.
1. Pre-processing
The following script represents those pre-processing steps for the input image:
import numpy as npimport cv2frame = cv2.imread('image.jpg')# Resize frame with Required image sizeframe_resized = cv2.resize(frame,(513,513))# Pad smaller dimensions to Mean value & Multiply with 0.007843blob = cv2.dnn.blobFromImage(frame_resized, 0.007843, (513, 513), (127.5, 127.5, 127.5), swapRB=True)# Making numpy array of required shapeblob = np.reshape(blob, (1,513,513,3))# Storing to a raw filenp.ndarray.tofile(blob, open('blob.raw','w') )Output of the script is the blob.raw file.
2. Changing the background using DeepLab
Image pre-processing generates the file /output/Result_0/ArgMax:0.raw.
Here is how to change the background for a pre-processed image
- The output of the DeepLab-v3 model is a 513×513×1 NumPy array.
- Read the output file as float32.
- Each element in the array contains the predicted class number of the corresponding pixels for the given input image.
- Replace the background in the image, by changing the pixel RGB values based on the predicted class numbers in the array.
- Resize the image to its original size.
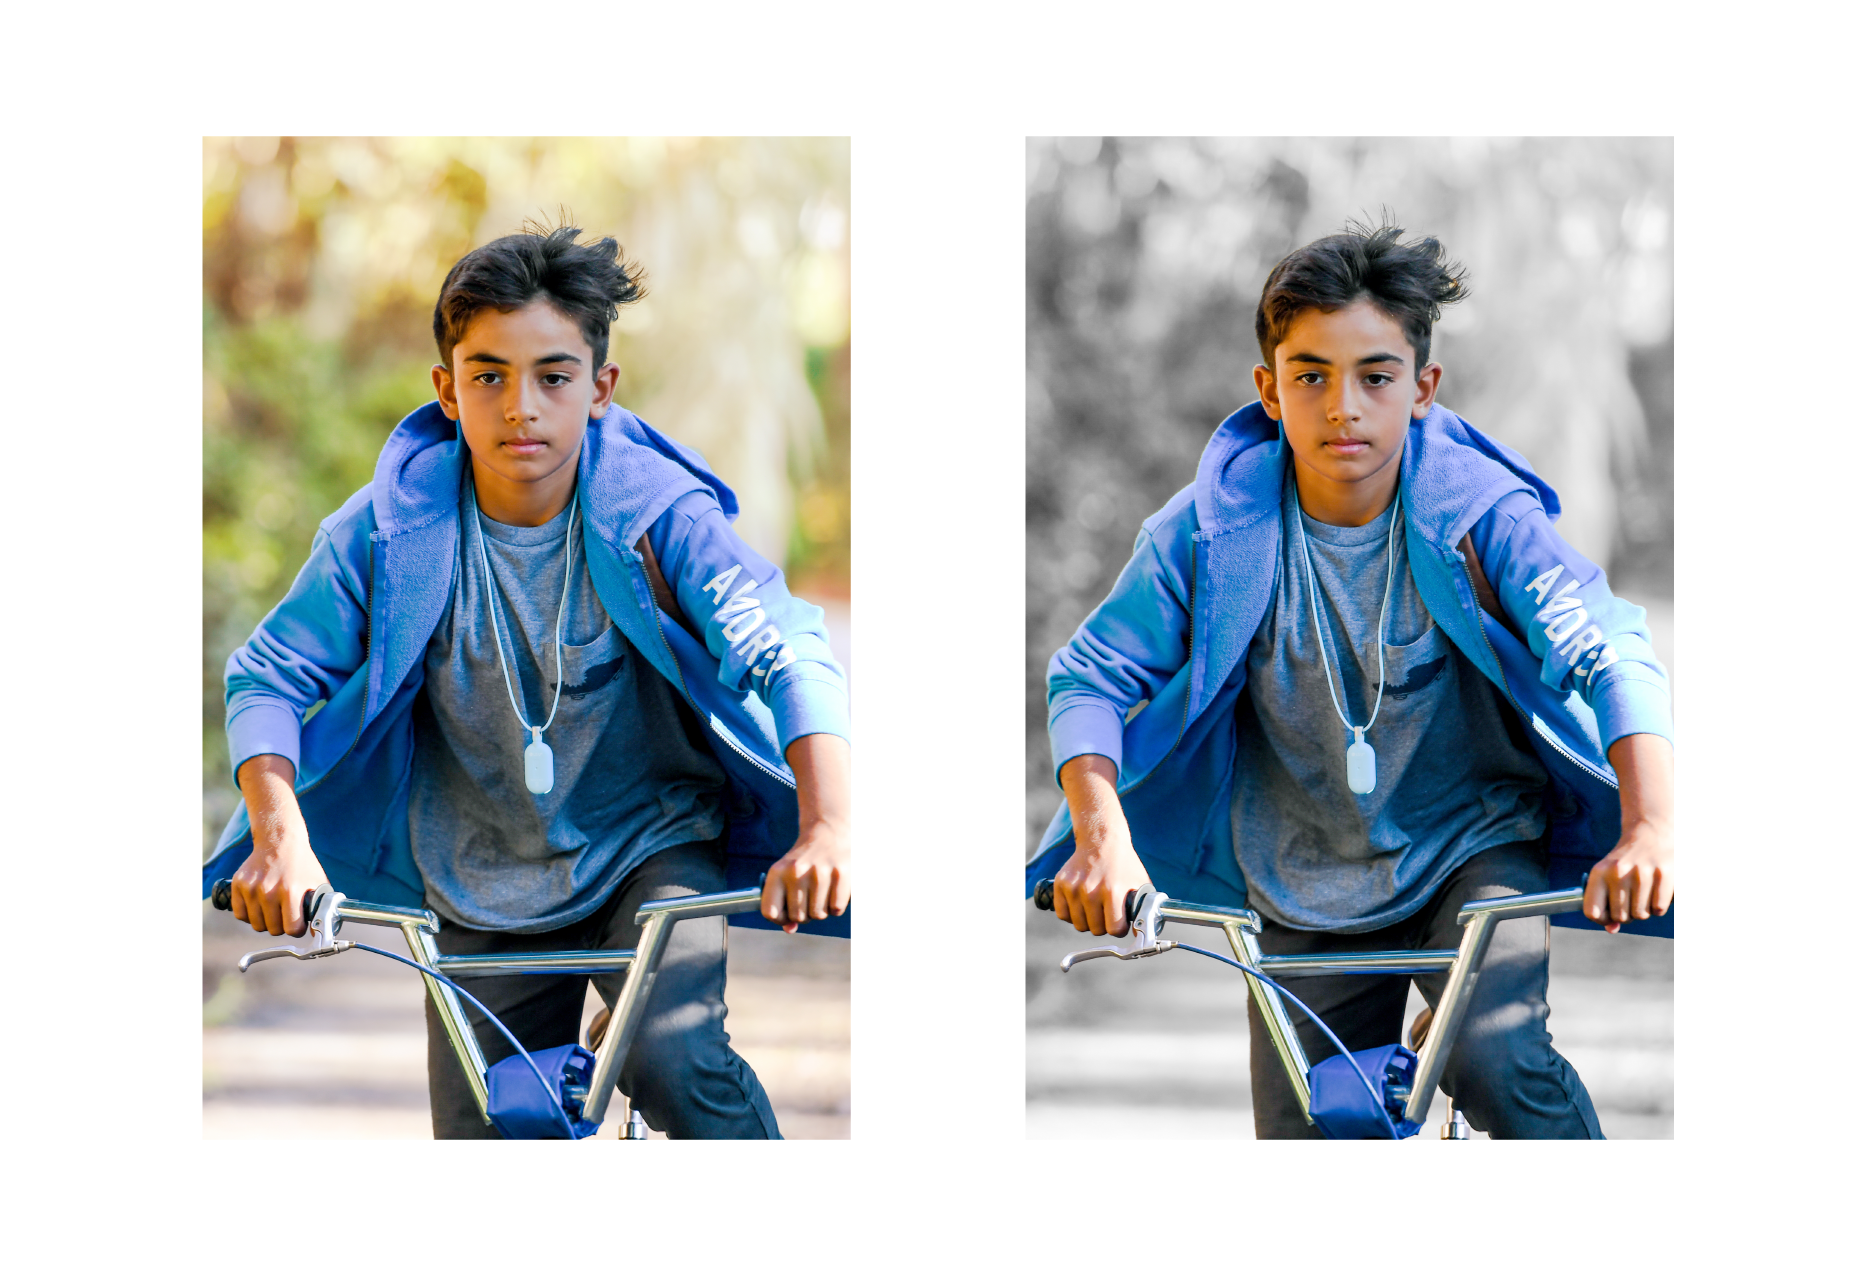
The following script will change the background of a pre-processed image to grayscale:
import cv2import numpy as nparr = np.fromfile(open('ArgMax:0.raw', 'r'), dtype="float32")arr = np.reshape(arr, (513,513,1))segment = arr[342:, 342:]arr[arr == 15] = 255original_img = cv2.imread('image.jpg')arr2=cv2.resize(segment,(original_img.shape[1], original_img.shape[0]))print(arr.shape)for i in range(arr2.shape[0]):for j in range(arr2.shape[1]):if (arr2[i][j] != 255):original_img[i][j] = original_img[i][j][0] = original_img[i][j][1] = original_img[i][j][2]cv2.imshow('output1', original_img)cv2.imwrite('changed_bg_img.jpg', original_img)cv2.imshow('output', arr)cv2.imwrite('actual_out.jpg', arr)cv2.imwrite('single_segment.jpg', segment)cv2.waitKey(0)Below are sample before- and after-images showing the changed background:
Qualcomm Neural Processing SDK is a product of Qualcomm Technologies, Inc. and/or its subsidiaries.