Quick Start Guide
Installation of the 3D Audio Plugin
- Download the 3D Audio Unity package from the Qualcomm Developer Network.
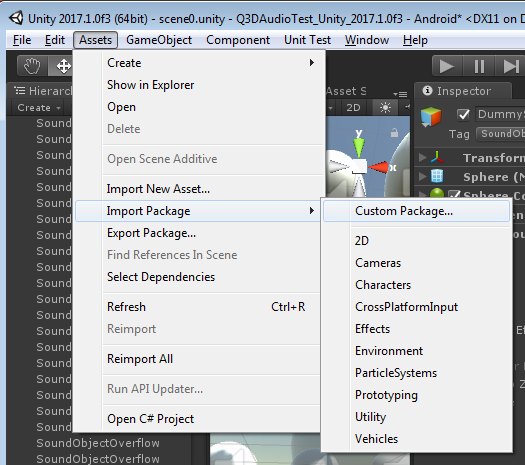
- Import the 3D Audio Unity package like any other Unity Plugin.
Setup of the 3D Audio Plugin
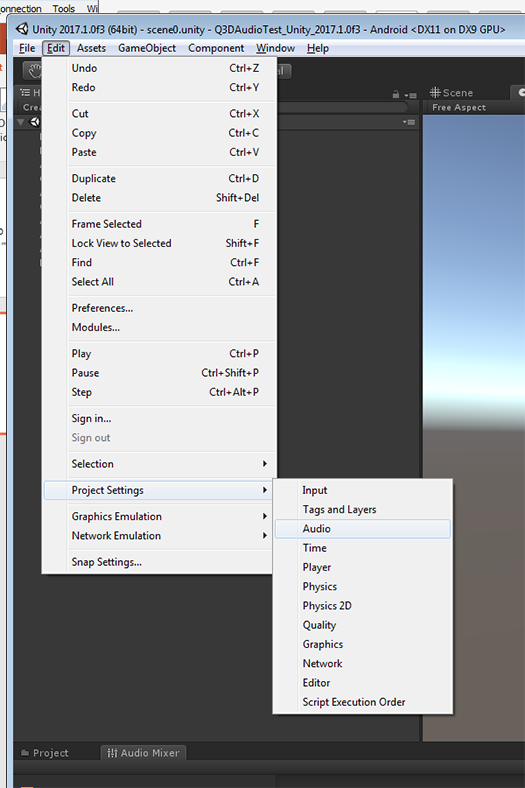
- Navigate to Edit > Project Settings and select Audio.
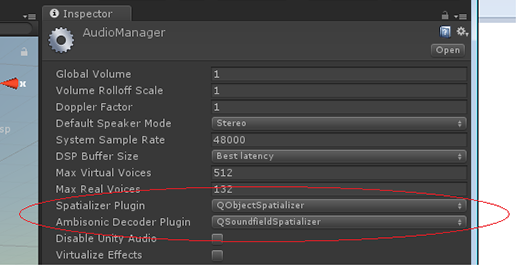
- Set Spatializer Plugin to QObjectsSpatializer and Ambisonic Decoder Plugin to QSoundfieldSpatializer.
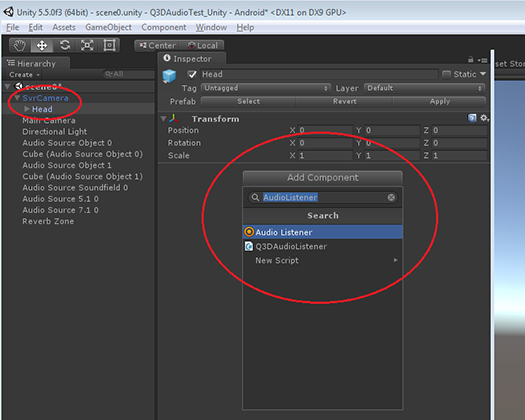
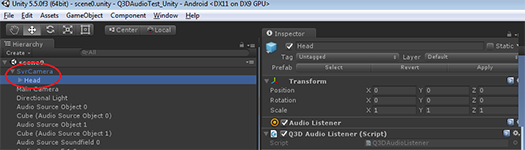
- Place a Q3D AudioListener on the same object that has your AudioListener.
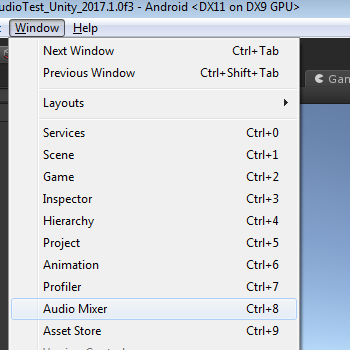
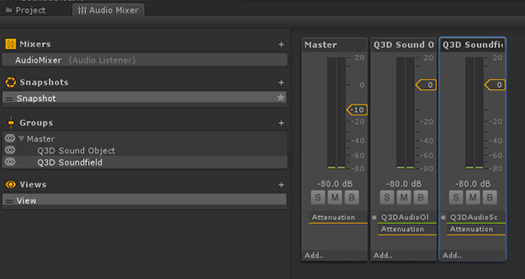
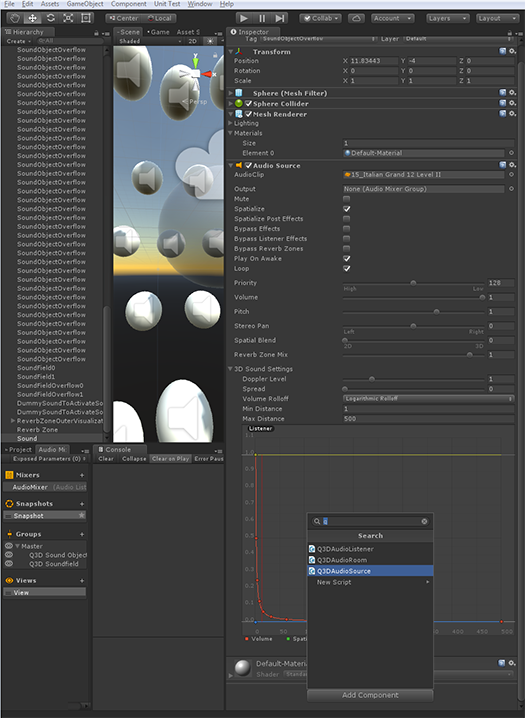
- Navigate to Window -> Audio Mixer to set up Q3D Audio Groups for sound objects and soundfields.
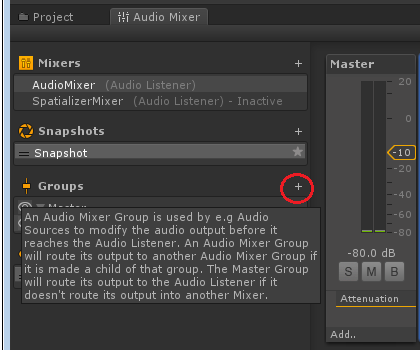
- Add a Group by clicking on the "+" icon as shown below.
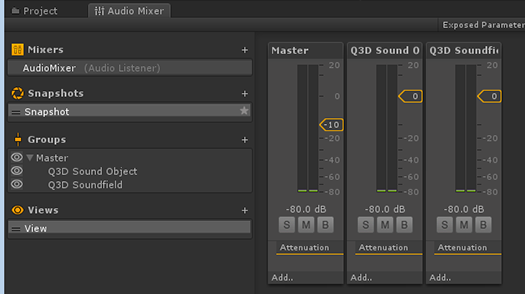
- You can name Groups whatever you like, for example, "Q3D Sound Object" and "Q3D Soundfield."
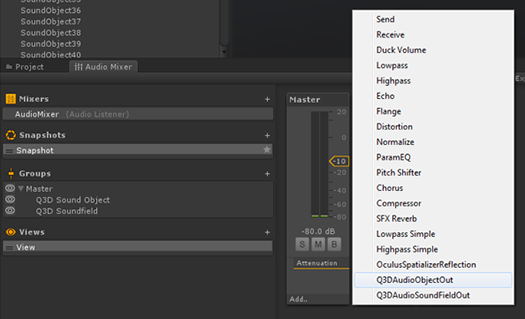
- Add the 'Q3DAudioObjectOut' Mixer Effect on the "Q3D Sound Object" Group.
- Add the "Q3DAudioSoundFieldOut" Mixer Effect on the "Q3DSoundfield" Group.
- Create two Audio Sources.
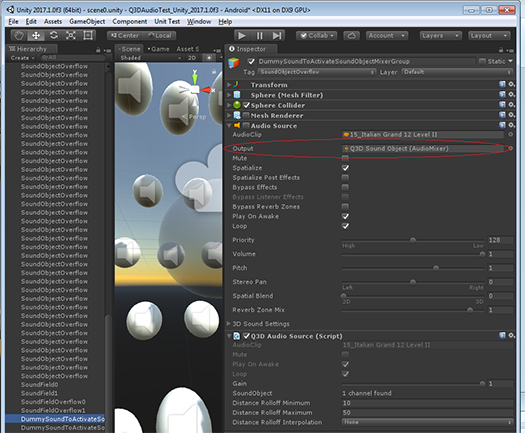
- Output one Audio Source to the Q3D Sound Object Group.
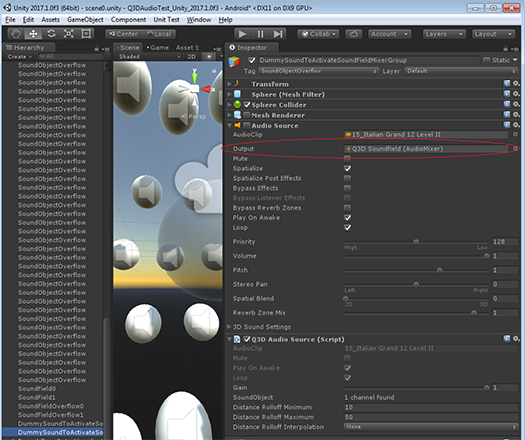
- Output another Audio Source to the Q3D Soundfield Group.
- The Unity project is now set to create spatialized audio.
The Q3D Audio Mixer Effects ignores mixer effect inputs, so it makes sense to place them as the first effect on their Groups, since they ignore the outputs of any mixer effects above them. Instead of getting their inputs from the Audio Mixer, they take inputs from the Spatializer and Ambisonic Decoder Plugins that were selected in the Audio Project Settings. Processing these inputs in parallel rather than using the Audio Mixer's serial model can achieve better performance on supported platforms. However, to make this work in Unity, you must create a sound that outputs to each Group - even though these sounds should never actually play. These "dummy sounds" makes Unity activate these Groups, which in turn, lets the 3D Audio Plugin use less processor time for more sounds.

Using the 3D Audio Plugin to Spatialize Audio
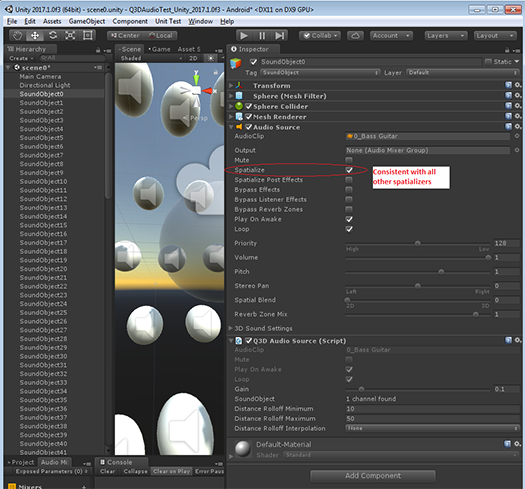
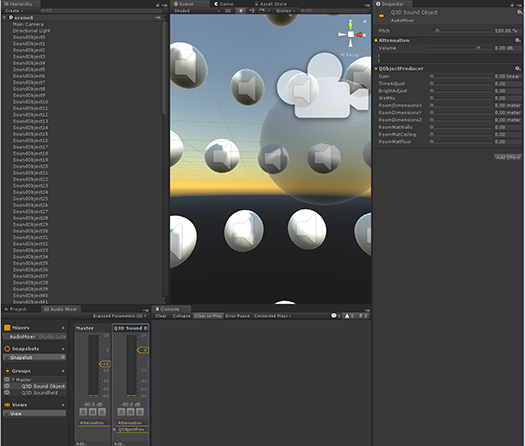
- For a sound object, create an Audio Source as usual.
- Add a Q3D Audio Source to it.
- Since this is a sound object, click the Spatialize checkbox on the Audio Source to be consistent with Unity's standard workflow. The Q3D Audio Source inherits its Audio Source's Transform and some other Audio Source parameters, which are grayed out next to the Q3D Audio Source-specific parameters.
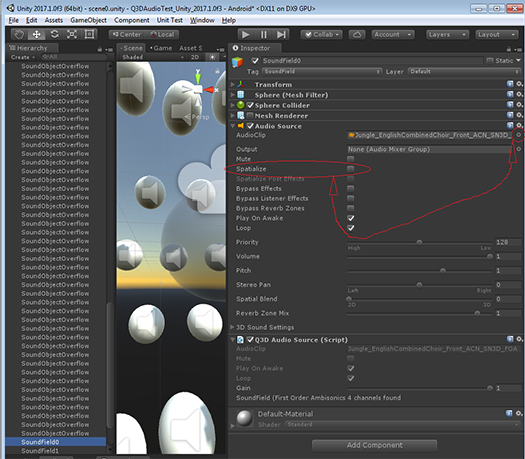
- Soundfields are authored just like sound objects, except you must adhere to Unity's workflow by unchecking the Spatialize checkbox.
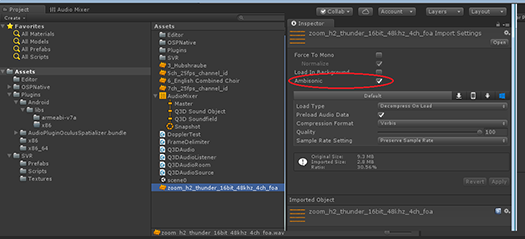
- Check the Ambisonic checkbox on the Audio Source's AudioClip.

If you now launch your Unity title, the sound object and soundfield that you just created will be spatialized.
Adding Reverb to a Spatialized Audio Scene
- To use the 3D Audio Plugin's reverb functionality, first create an Audio Reverb Zone as usual.
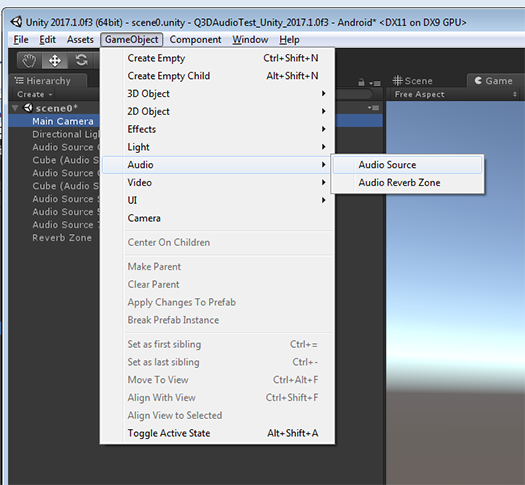
- Add a Q3D Audio Room to the Audio Reverb Zone.
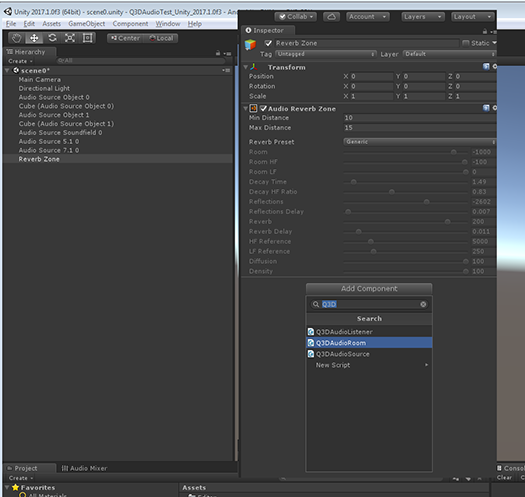
- As with the Q3D Audio Source, the Q3D Audio Room inherits its Audio Reverb Zone's Transform and some of its parameters, which are displayed grayed out next to Q3D Audio Room-specific parameters.
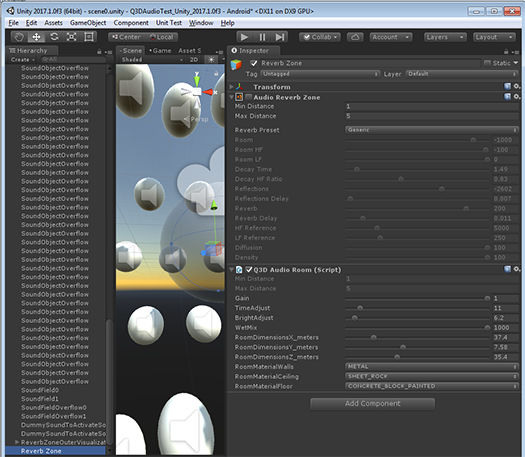
- Q3D Audio Rooms behave just like Unity's Audio Reverb Zones, except that the reverb effect's default values can be set on the 'Q3DAudioObjectOut' Mixer Effect itself. So, if the Listener isn't in any Q3D Audio Room, then the reverb effect will be set to the Mixer Effect's values.
We hope you enjoy using the Qualcomm 3D Audio Plugin.